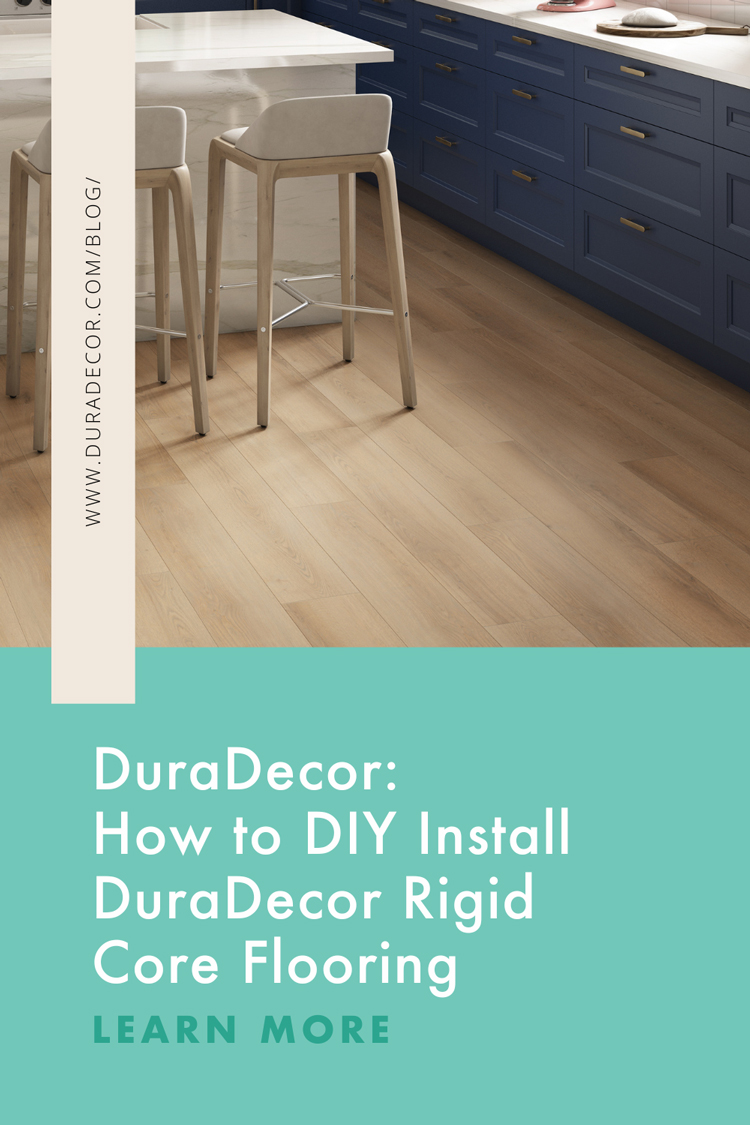
From Instagram to Pinterest, magazines to websites, you took your time finding fabulous inspiration and coming up with your vision for the design refresh you’ve wanted forever. And when you found your favorite style within DuraDecor’s Modern Maven, Classy Chic, or Polished Pro vinyl flooring collections, you were totally drawn to the fact that they were made with DIYers and weekend warriors in mind.
Not only did you love the fashion focus and obsession with quality, but you were also intrigued that the various installation methods allow you to choose a product that’s a perfect fit for your DIY experience. Well, we are still here to help guide you through the DIY installation process, step-by-step, and include some helpful tips along the way!
Remember, every talented house flipper or home renovator that you love to binge-watch on TV was a beginner once. We have the resources to help you complete your project with confidence and ensure long-lasting, fabulous results that you will love to show off. We will walk you through the process, share a tool list, teach you the easy ‘slide’ method for installing your first row of planks or tiles, and more.
Before you begin installing DuraDecor rigid core flooring, make sure you have all the tools needed for the project:
• Broom • Utility Knife • Speed Square • Pull Bar • Safety Glasses • Pry Bar • Dead-Blow Hammer or Rubber Mallet Level • Spacers • Chalk Line • Dust Mask • Pencil • Knee Pads • Tape Measure • Jigsaw/Carbide Blades • Oscillating Hand Tool • Infrared Thermometer
You definitely don’t want to be caught without the right tool once you get started! In addition to the steps that we are going to outline here, make sure to watch this helpful YouTube video as a visual guide to better understand the directions. YouTube makes everything easier:
Alright, it’s time to install. Go slow, take your time, and do it right. You’ve got this!
Step 1: Always follow the instructions, including how to prepare the subfloor.
Step 2: Set the temperature in the room higher than 60 degrees Fahrenheit and less than 80 degrees Fahrenheit.
Step 3: Remove any wall base. You will need to use a quarter-round molding to cover the required expansion gap.
Step 4: Undercut your door jambs allowing for a space that is 1/64th of an inch more than the thickness of your flooring. Tip: If one of your side walls has a doorway, that’s the best wall to start your installation at!
Step 5: Measure, calculate, and reduce the width of the first row to balance the layout. We recommend a random pattern! All end joints should be at least 8 inches apart while avoiding the stair stepping pattern.
Step 6: Situate your pre-cut plank in the left corner with the extended locking mechanism facing outward, then add spacers to maintain the expansion gap. Line up the end joint with the next plane. Engage the corners and then slide the joint together.
Step 6: For the end piece, mark the length, then score and snap the fit. Now check the row for straightness and firm it up with spacers.
Step 7: For subsequent rows, start with the offcut or cut a starter piece. Insert the side joint into the previous row at about a 25-degree angle. Make sure it’s fully engaged then slide it into position before lowering.
Step 7: For the end joints, ensure they are perfectly lined up before lowering. Starting at the tee, tap down the high side to lock it together using a dead blow hammer. Complete the row.
Step 8: At the doorways, make sure your cut edges are covered by the door jamb while maintaining the required expansion gap. Continue installing, selecting planks from different cartons to ensure a random look until you have completed your installation.
Want even more helpful tips? Watch Common Mistakes to Avoid During Luxury Vinyl Flooring Installation to perform like a pro!
Now take a step back and look at the brand-new floor that YOU completed! After you give yourself a round of applause and wolf down a yummy snack, show your finished floor some extra love by placing nylon or felt pads underneath your furniture. Make sure to follow DuraDecor by Novalis Innovative Flooring on YouTube, Pinterest, and Facebook, and tag us with your dazzling new room pics!
*Important Note: These tips are meant to supplement official DuraDecor instructions, not replace them. Please carefully review the technical installation instructions for your DuraDecor products in order to maintain your product warranty.